Having an appropriate ironing setup will not only enhance your space but also help you be more efficient. Whether you have a dedicated room or simply a space to use as a makeshift ironing station, knowing your needs can help you design a versatile area to do your best work. In three easy steps, we’ll show you how you can curate the ultimate ironing setup
1. Choose the Right Equipment
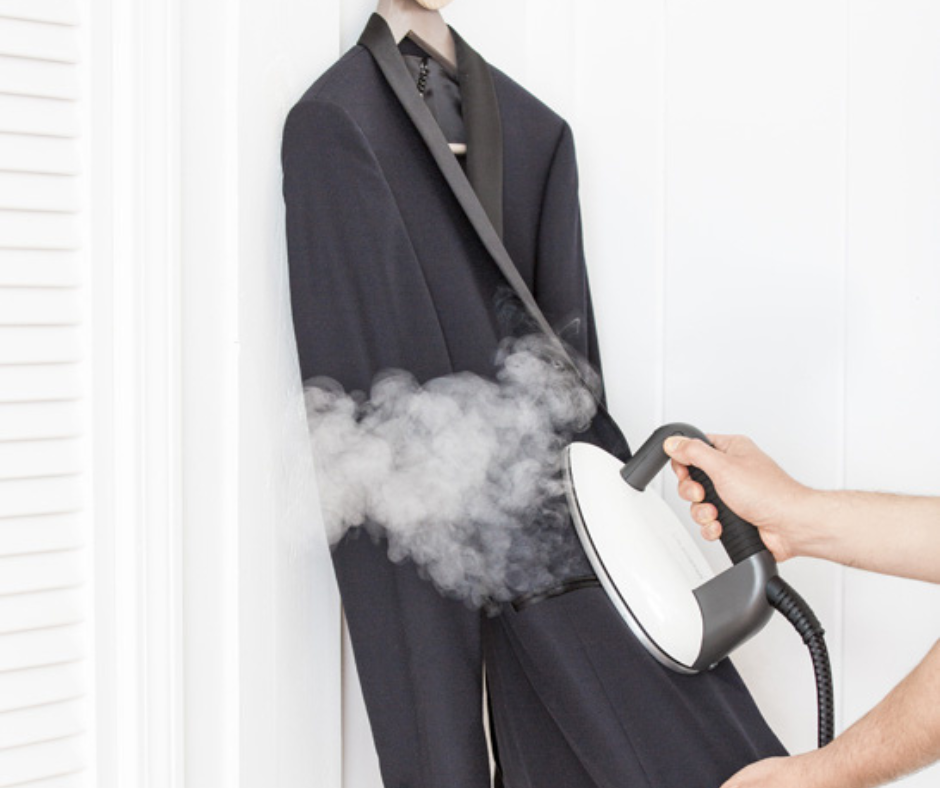
First things first, you’re going to need the right tool. Determine whether you need an iron or a steam generator to get the job done. An iron utilizes heat and pressure to remove creases and wrinkles from textiles, while a steam generator utilizes heat and steam.
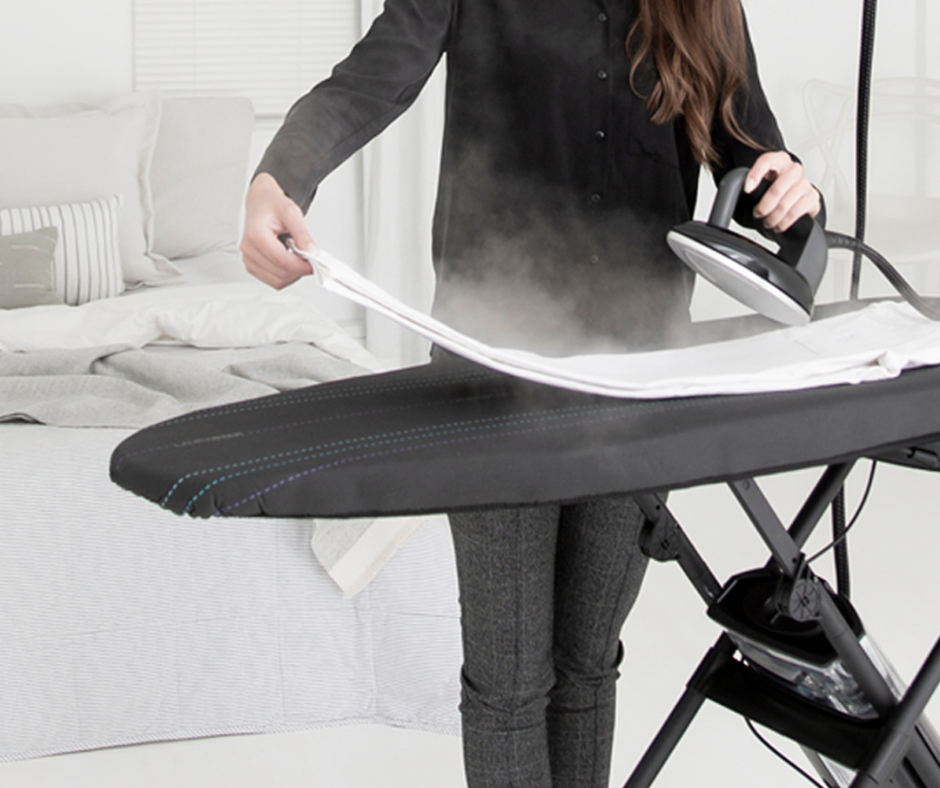
2. Setup Your Space
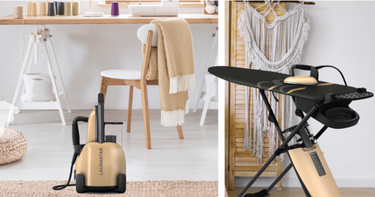
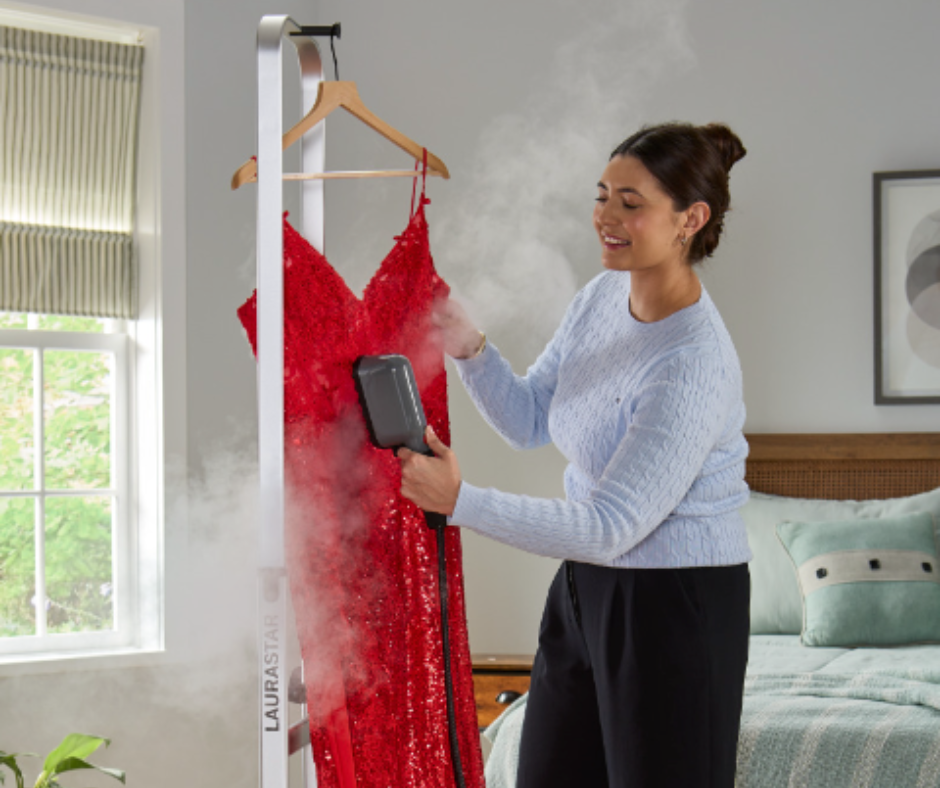
Select a location that works best for you and your needs. Think about how you can move in the space, as well as the lighting to ensure you have visibility from all angles. It is also important to consider organization. You’ll want to be sure you’re able to store and access all your equipment and accessories. If you’re looking for a solution to help you move more freely, consider Laurastar’s Lift Steam Cart or IZZI Plus Steam Cart. Both of these items allow you to move your equipment, as well as feature a hook and adjustable height design for vertical steaming.
3. Have a Phone or Computer Handy
Enhancing your ironing skills can be simple when you have access to helpful tutorials and support. Laurastar offers a variety of videos online and advice on topics that range from how to steam specific items of clothing, techniques, and how to properly care for your product. There are even virtual training sessions to help you feel more confident with your Laurastar and ironing space.
Creating the ultimate ironing space is simple when you’re equipped with the right tools and leveraging your space to its fullest potential. Whether you’re looking for a
top-of-the-line ironing system or a steam generator designed to make life simpler, Laurastar has what you need to elevate any ironing station.